Since my first programming studies using PHP back in 2014, I have always been developing toy projects - which needed to be running somewhere. At that time I didn't know about some useful tools as we use nowadays for deploying apps (most of them didn't exist yet), such as Heroku, Fly.io, container platforms (ECS, GCR). I remember paying for a VPS, configuring a database on it, installing PHP libraries, a web server like Apache or Nginx, and even a DNS (bind) and email server.
Today there are popular services and tools that save a lot of time, but thinking about toy projects that will be running for months without any revenue, it's not worth paying for these services. Also, there is some joy in running everything by yourself.
My first home server
For many years I've been a Heroku user (not a paying client) for hosting this kind of personal project, but when the free tier ended, I began looking for alternatives.
I first used Oracle Cloud's Ampere servers that have 4 CPUs and 24GB memory for free, set up using Terraform and Kubernetes, but then I began having some storage and network fees and I gave up. But this option is still probably one of the best.
Then a friend of mine showed me a new [at that time] Cloudflare tool: Tunnels. It allows you to set up a tunnel to your local service and expose it using your own domain, for free. It has some limitations, like allowing only specific ports to be exposed and limiting streams, but it's a good start.
Digging a little bit more, there are some Open Source alternatives that enable exposing local services using different methods. For example FRP and Wireguard (https://www.wireguard.com/).
After almost 10 years since my first cloud server, I began my journey of self hosting at home with the help of Cloudflare Tunnels (that soon I replaced by Wireguard).
The hardware
I first tried with an old Asus S400 laptop, but soon I found a really tiny substitute: The Orange Pi Zero 3, with a 4-core processor and 4GB RAM, consuming only 20W. You can find it on aliexpress through a link on their website.
It is running for almost a year with an old iPhone charger (connected to an USB-C port) and a 64GB MicroSD card. Below I show how I set it up with Debian, Kubernetes and Cloudflare Tunnel.
Burning the MicroSD Card
At Orange Pi's support page, you can download the desired OS under "Official Images". I just went to a Google Drive folder and selected the option that best fits my board. They offer both server and desktop images and I chose the server one since I won't need a user interface.
It is an Armbian image with some modifications like setup scripts, OrangePI's logo exhibition and so on. It is possible to download and install a pure Armbian image through the same process.
The downloaded file is an OS image, not a OS installer like those you download from Debian's or Ubuntu's website. You will need a software like Balena's Etcher to burn this image into the SD card and probably an adapter to plug it to your computer. On Etcher's interface, you will select the downloaded zip file and the target disk and it will copy all files into it.
Pre-configuring static IP
While the SD Card is still inserted into your computer, navigate to the folder /boot/ and make a copy of the existing orangepi_first_run.txt.template file, removing the .template suffix (orangepi_first_run.txt).
Since I'm using a wired connection, I will change the following lines:
FR_net_use_static=1
FR_net_static_ip='192.168.0.10'
FR_net_static_mask='255.255.255.0'
FR_net_static_gateway='192.168.0.1'
FR_net_static_dns='8.8.8.8 8.8.4.4'
If you want to use Wi-Fi, change these lines to connect automatically:
FR_net_wifi_enabled=1
FR_net_wifi_ssid='MySSID'
FR_net_wifi_key='MyWiFiKEY'
These steps are documented under a file in OrangePi's downloads page (given previously) and you can find deeper details there.
Now, your SD card is ready to be inserted in the device. When you turn it on, the system will run some initial configurations, such as setting interface names and then will be running with no more setup.
Creating a Cloudflare Tunnel service
Before going on with the machine setup below, you will need a service token from Cloudflare Tunnel. To generate it:
- Go to Cloudflare Console: https://dash.cloudflare.com/;
- Click on "Zero Trust" item on side menu (https://one.dash.cloudflare.com/);
- Click on "Networks" then "Tunnels";
- Click on "Create Tunnel" and give the name you want, then save it;
- Keep the token displayed on your screen. The guide below has a step where it will be used
cloudflared service install [token];
Installing needed software
Assuming your device is turned on, connected to the internet and with a static ip configured, now you can ssh into it:
Both "root" and "orangepi" users have the password "orangepi".
After connected through SSH, run the lines below to setup what is needed (cloudflared and k3s). Find the line where is written [CLOUDFLARE_TOKEN] and replace it with the token you got from Cloudflare's configuration above.
# base tools
sudo apt-get update -y
sudo apt-get install curl apt-transport-https ca-certificates software-properties-common htop -y

# setup cloudflared tool (for configuring tunnel)
# get the latest release at https://github.com/cloudflare/cloudflared/releases
curl -fsSL https://github.com/cloudflare/cloudflared/releases/download/2025.4.0/cloudflared-linux-arm64.deb -o cloudflared-linux-arm64.deb
sudo dpkg -i cloudflared-linux-arm64.deb
rm cloudflared-linux-arm64.deb
sudo cloudflared service install [CLOUDFLARE_TOKEN]

# install k3s (https://k3s.io/)
curl -sfL https://get.k3s.io | K3S_KUBECONFIG_MODE="644" sh -s -
Setting up a demo Kubernetes service
By running the following code, you will create a demo pod using an Nginx image and then create a Kubernetes service at port 8085, pointing to Nginx's port 80:
kubectl create deployment demo-deployment --image nginx

kubectl expose deployment demo-deployment --name=demo-service --port=8085 --target-port=80
Exposing the service
With the board running the demo Kubernetes deployment and service, it is time to make the Cloudflare's Tunnel expose a route for it.
So, first run kubectl get service to retrieve the service's IP on the node:

Now, on the Cloudflare's Tunnels page, click on "Edit" on the tunnel you've created previously, then go to the "Public Hostname" tab, and then "Add a public hostname":

It is ready! Visiting the subdomain configured above, it is possible to see the Nginx's demo page:
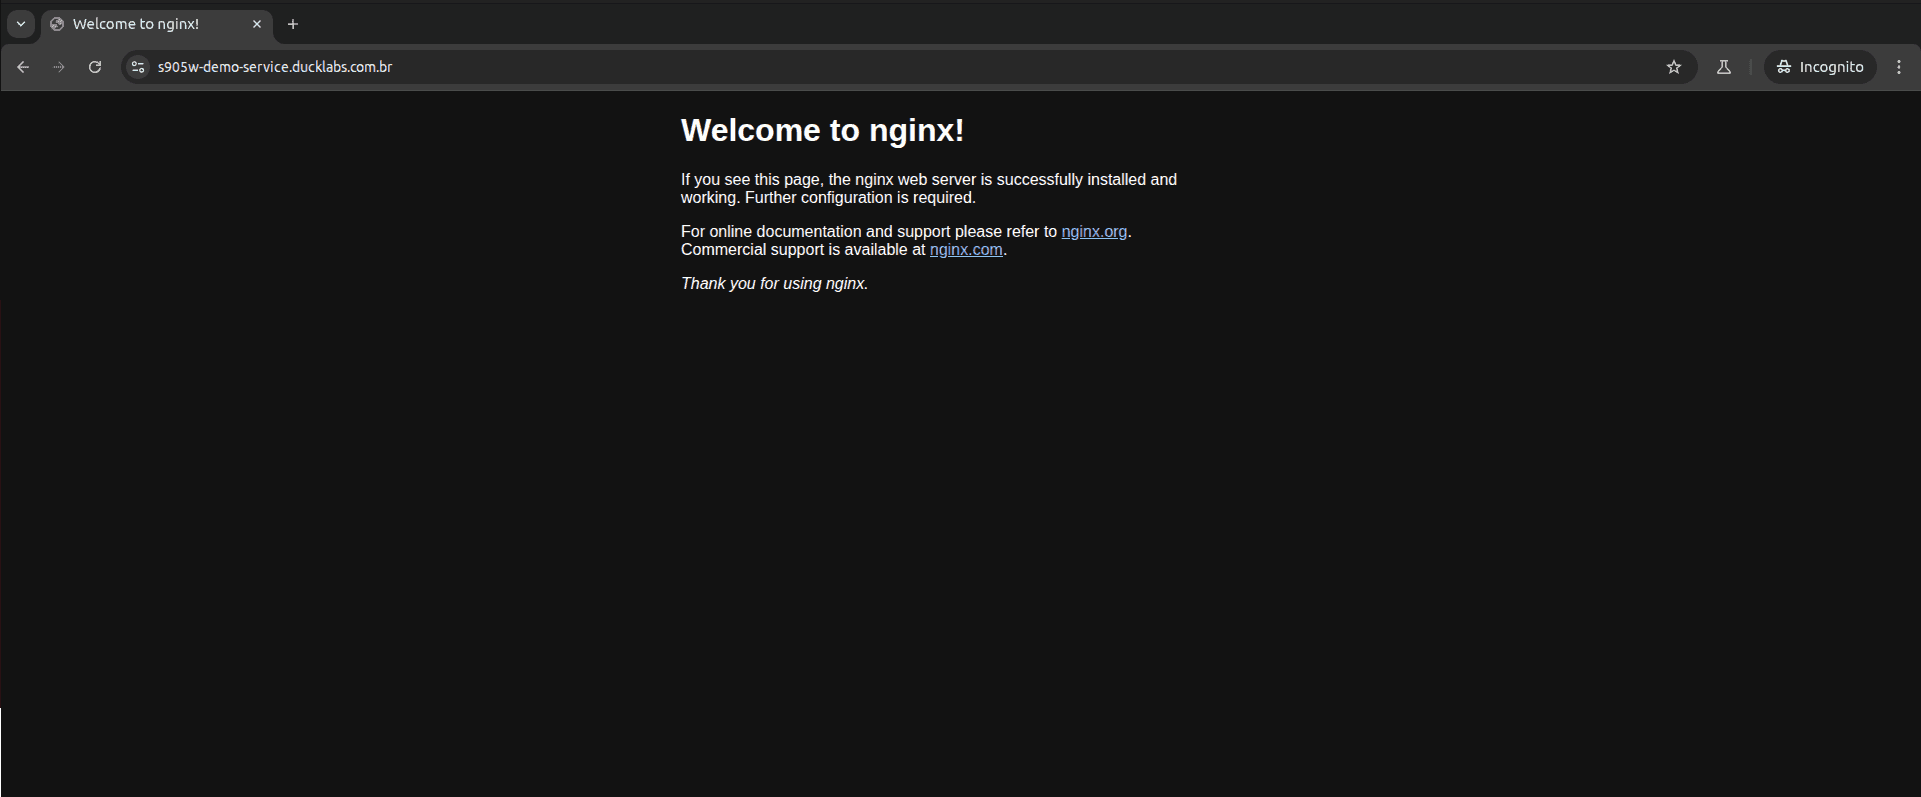
this host I've configured will certainly be down at the time you're reading this