In 2020, after some years seeing the hype, I finally bought my first 3D Printer. It was the most affordable I could buy: the Creality Ender 3. At the first touch, I printed some models I've downloaded and had some fun setting up the bed leveling and post-work on objects.
But when I came to have some ideas, how could I draw them since I'm not good at all on it? I had some 3D classes at the college using software like Solidworks (that I'm not willing to pay for), but I'm really not good at that.
Also, I remember having some difficulty on these classes when I wanted to change scales or reshape some parts that were merged. Thinking as a software developer, it is really frustating not having a way to undo some pieces of work without having to undo other pieces that were made after those (following what I can do with a CTRL + Z).
So the obvious came in mind: is there any possibility of drawing using code? And yes, there is: you can use Blender.
Discovering the Scripting feature
Righ after opening bender, you will find the "Scripting" top menu. Entering this page, you hit "New" and you will have a file ready for scripting.
But how to start writing code since you don't know the Blender's API? With a little Python knowledge, it is possible to start playing before reading the API docs.
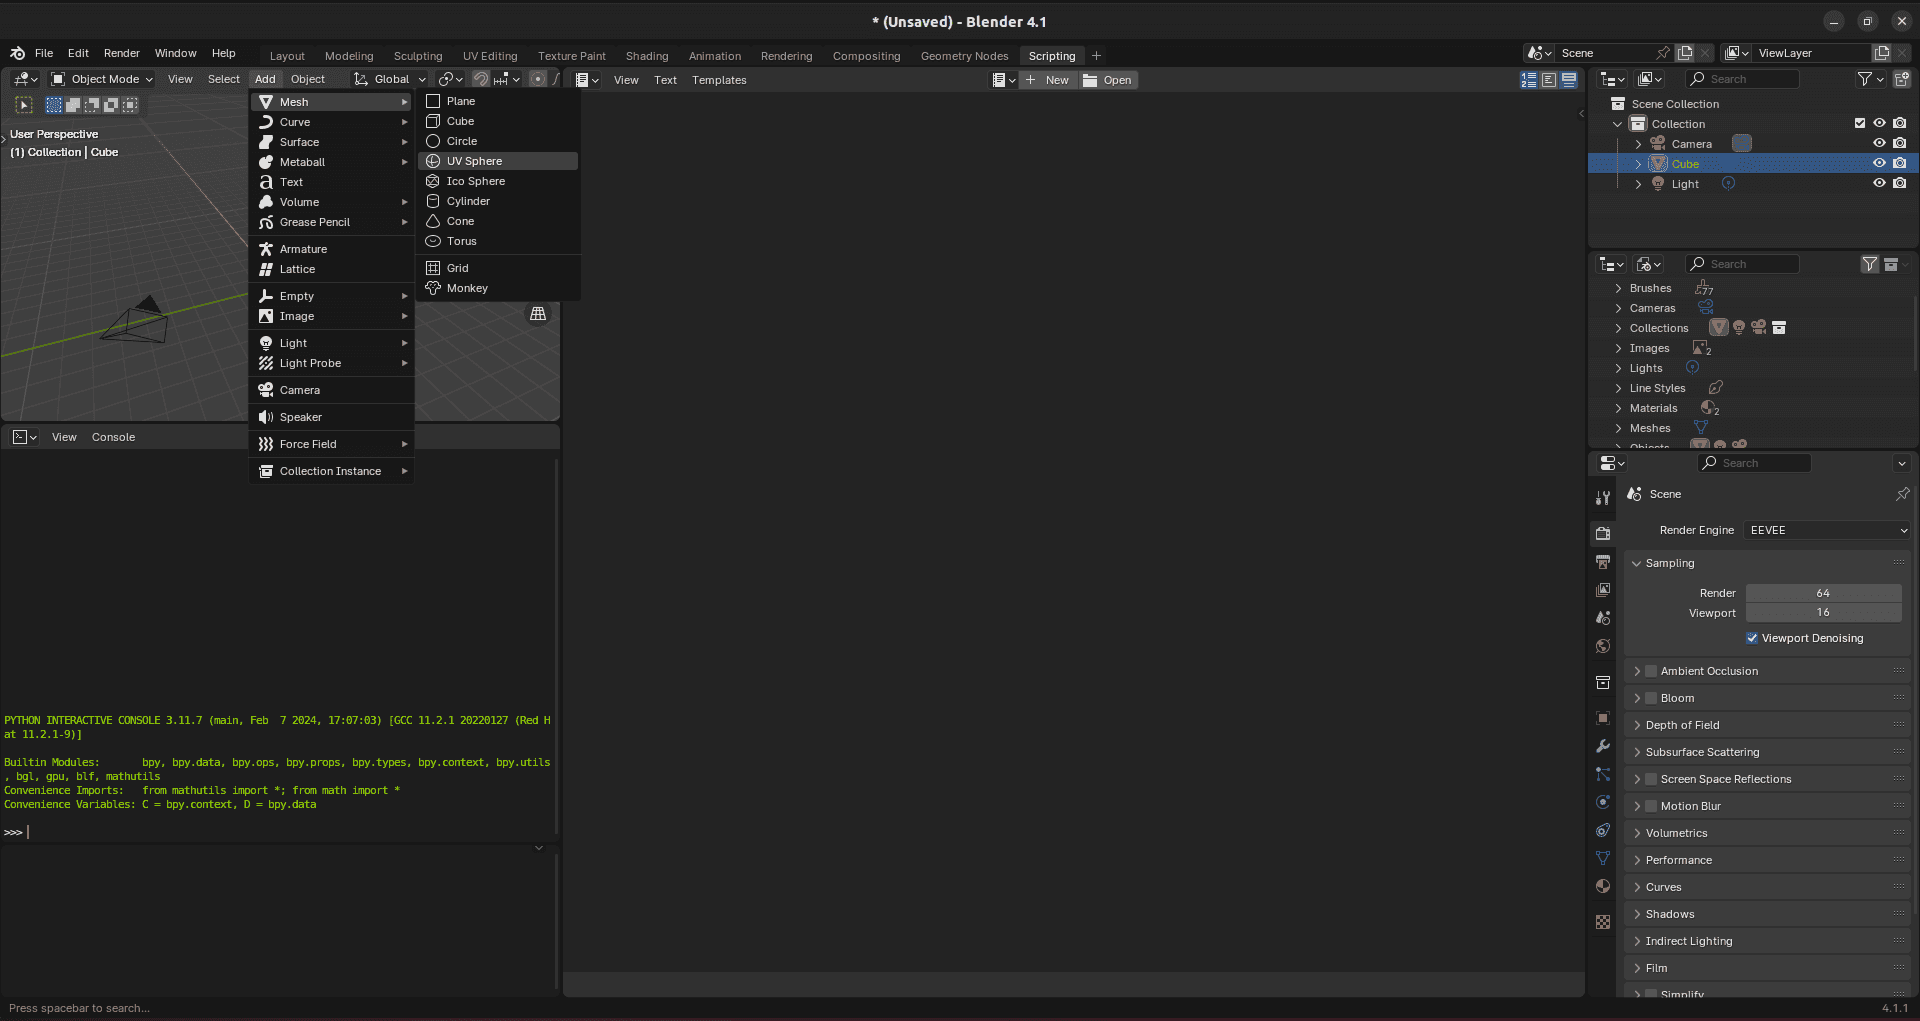
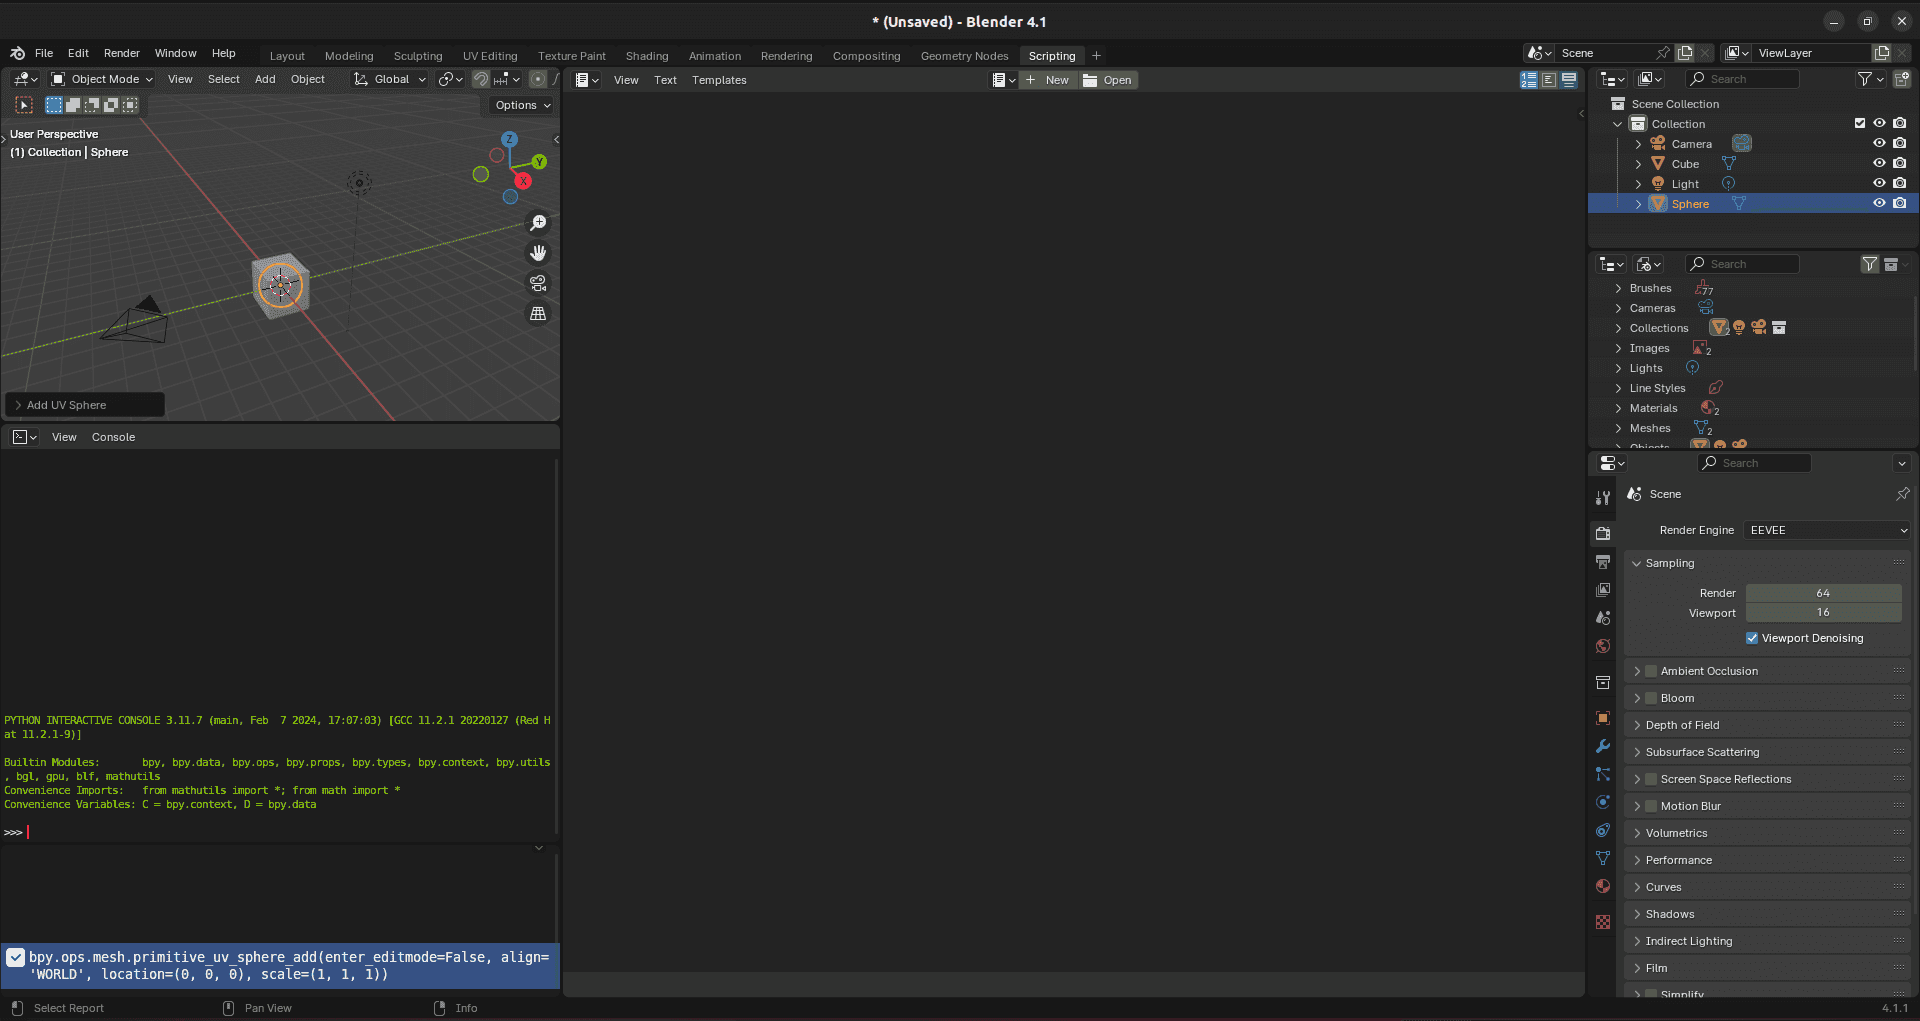
If you click "Add" > "Mesh" > "Cylinder" to create a new cylinder, you will see a reference to it appearing in "Collection" and a code log on the screen corner.
You can copy the generated code from the log and paste it into the script file under the "Scripting" section:
import bpy
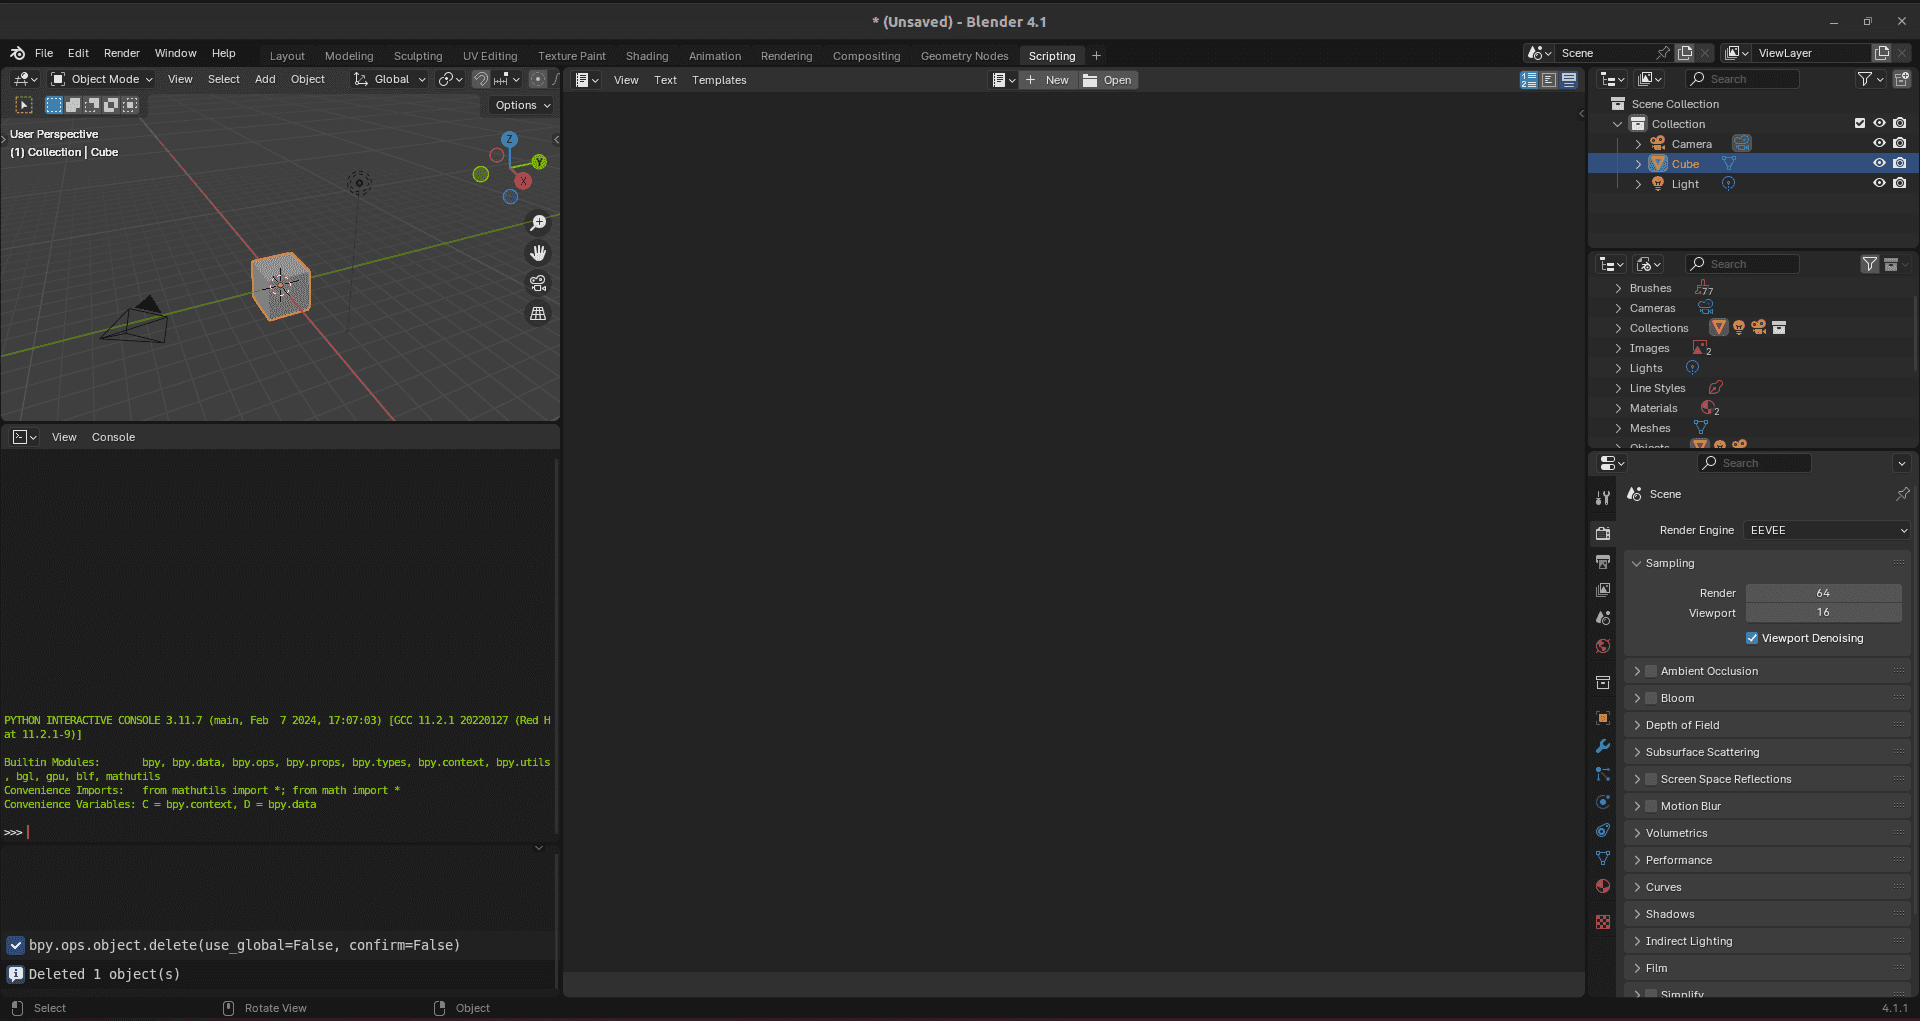
bpy.ops.mesh.primitive_cylinder_add(radius=1, depth=2, enter_editmode=False, align='WORLD', location=(0, 0, 0), scale=(1, 1, 1))To run this code, you must click ALT + P and then you will see more cylinders appearing on the Collection list, but since they are at the same location, you will only see one.
Everytime you run the script, it creates everything again without removing the old objects. The following code is put at the beginning of the scirpt to delete all objects before creating new ones:
bpy.ops.object.select_all(action='DESELECT')

for obj in bpy.data.objects:
    obj.select_set(True)
    bpy.ops.object.delete(use_global=False, confirm=False)
It is possible to learn other commands like rotation, position and resizing by just using the app's interface and then copying the commands:
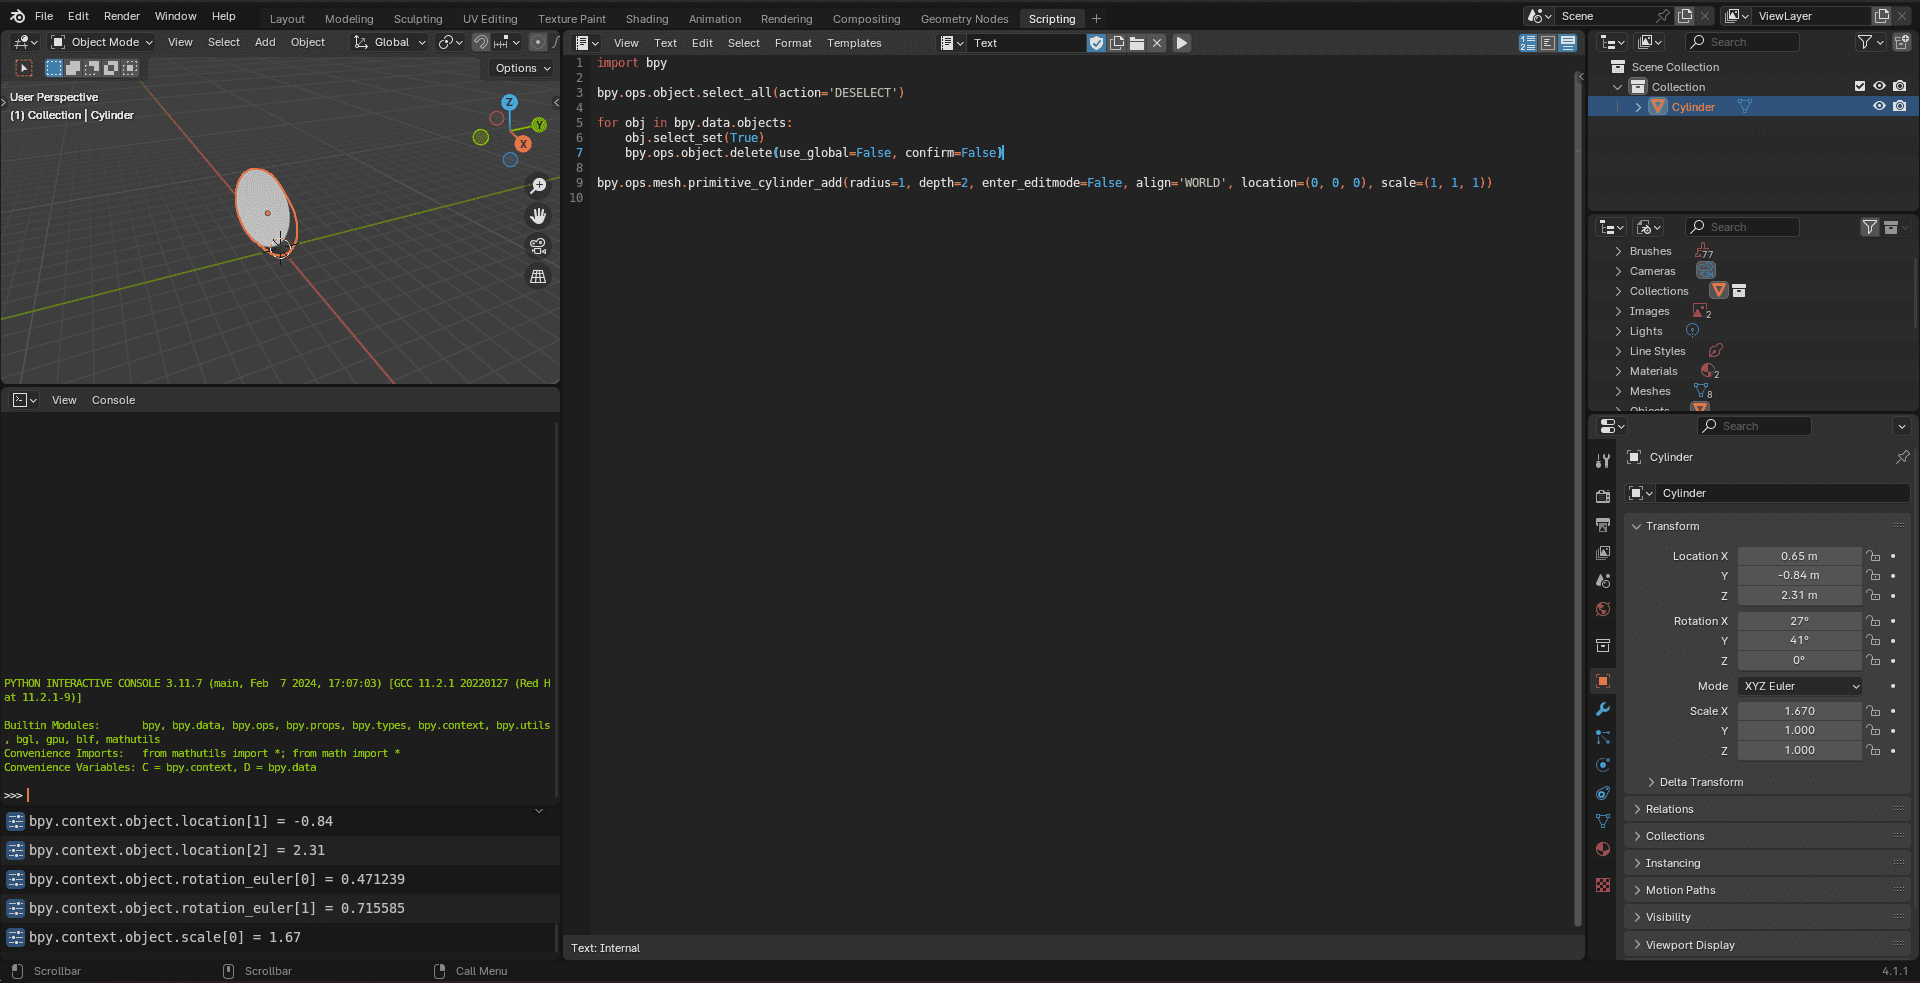
bpy.context.object.location[0] = 0.65
bpy.context.object.location[1] = -0.84
bpy.context.object.location[2] = 2.31

bpy.context.object.rotation_euler[0] = 0.471239 # 27
bpy.context.object.rotation_euler[1] = 0.715585 # 41

bpy.context.object.scale[0] = 1.67
The rotation values are expressed in degrees on Blender's interface, but in the code sample you see it expressed in radians. Python offers a easy helper to do this conversion by using the math library:
import math

bpy.context.object.rotation_euler[0] = math.radians(27)
bpy.context.object.rotation_euler[1] = math.radians(41)
With these small steps, now you can see more advanced/detailed topics in Blender's documentation:
- https://docs.blender.org/manual/en/4.2/advanced/scripting/index.html;
- https://docs.blender.org/api/current/info_quickstart.html.
Drawing something more complex
The last section showed how to copy commands made by hand from the log panel and paste them in code file. But what can be achieved by using more power from a programming language?
Thinking a little bit, I already saw some 3D printed vases that uses some deformations made by some pre-defined transformers like this:
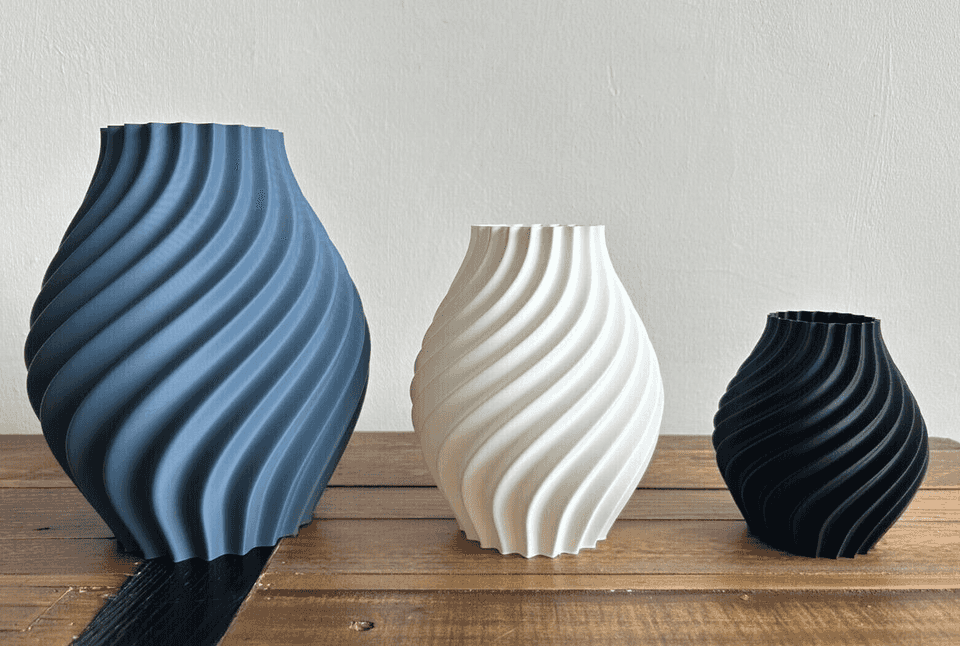 Reference: https://www.ebay.ca/itm/175756202097
I want to replicate it by code and the idea is basic: having a very thin square in height and replicate it N times by applying a rotation. Also, use some function that makes the middle of the drawing more large than the bottom and the top.
import bpy
import math
bpy.ops.object.select_all(action='DESELECT')
for obj in bpy.data.objects:
obj.select_set(True)
bpy.ops.object.delete(use_global=False, confirm=False)
# this function is a helper to set all sides at once and avoid code repetition
# the previous examples already show a call to the "scale" attribute
def set_scale(obj, x, y, z):
bpy.context.view_layer.objects.active = obj
obj.scale[0] = x
obj.scale[1] = y
obj.scale[2] = z
# by having the total desired height and the slice height
# it is possible to know how mutch items will be necessary
# the shorter the slice is, better the resolution
total_height = 10
slice_height = 0.1
slices_count = int(total_height / slice_height)
# this variable will define a amount of rotation
# required per slice to achieve full rotation of 45º
rotation_per_slice = math.radians(45) / slices_count
# and basically the side width for each square
square_width = 5
# now will loop N times and will create N objects
# with the define width, respecting the height of
# all other previous blocks summed
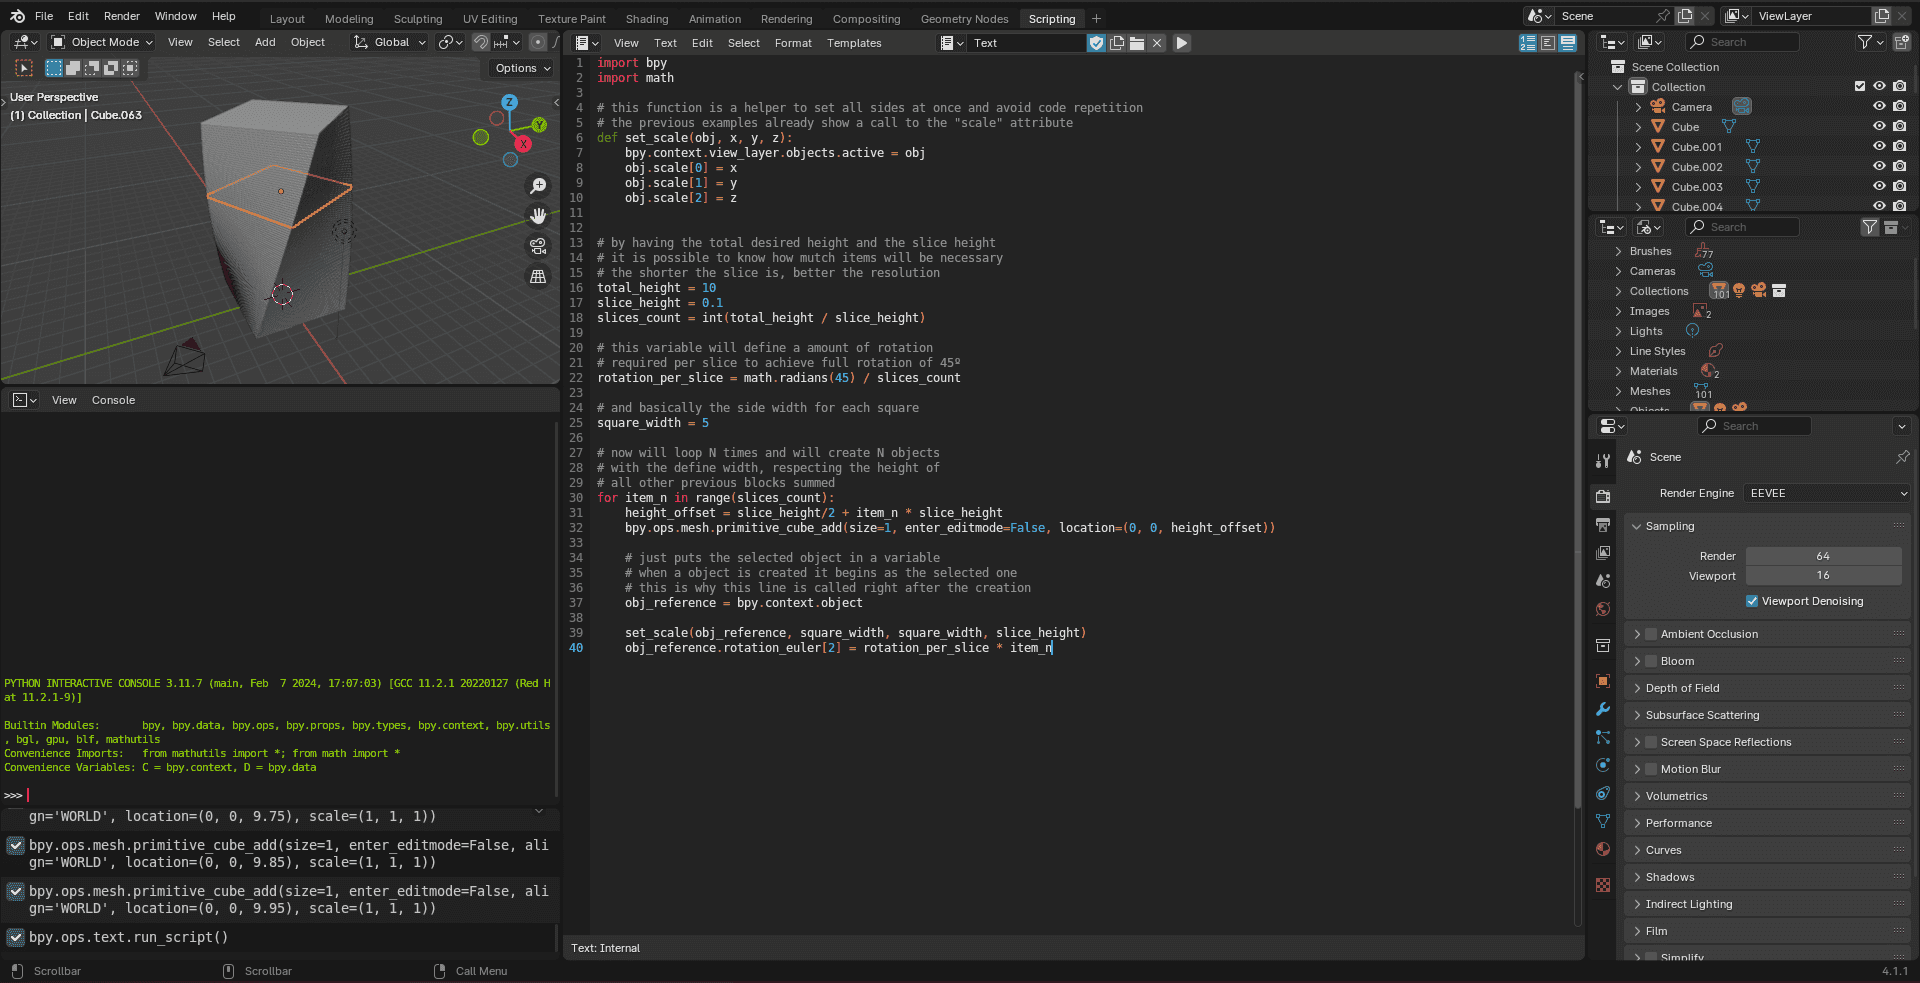
for item_n in range(slices_count):
height_offset = slice_height/2 + item_n * slice_height
bpy.ops.mesh.primitive_cube_add(size=1, enter_editmode=False, location=(0, 0, height_offset))
# just puts the selected object in a variable
# when a object is created it begins as the selected one
# this is why this line is called right after the creation
obj_reference = bpy.context.object
set_scale(obj_reference, square_width, square_width, slice_height)
obj_reference.rotation_euler[2] = rotation_per_slice * item_nThere will be something like in the following image:
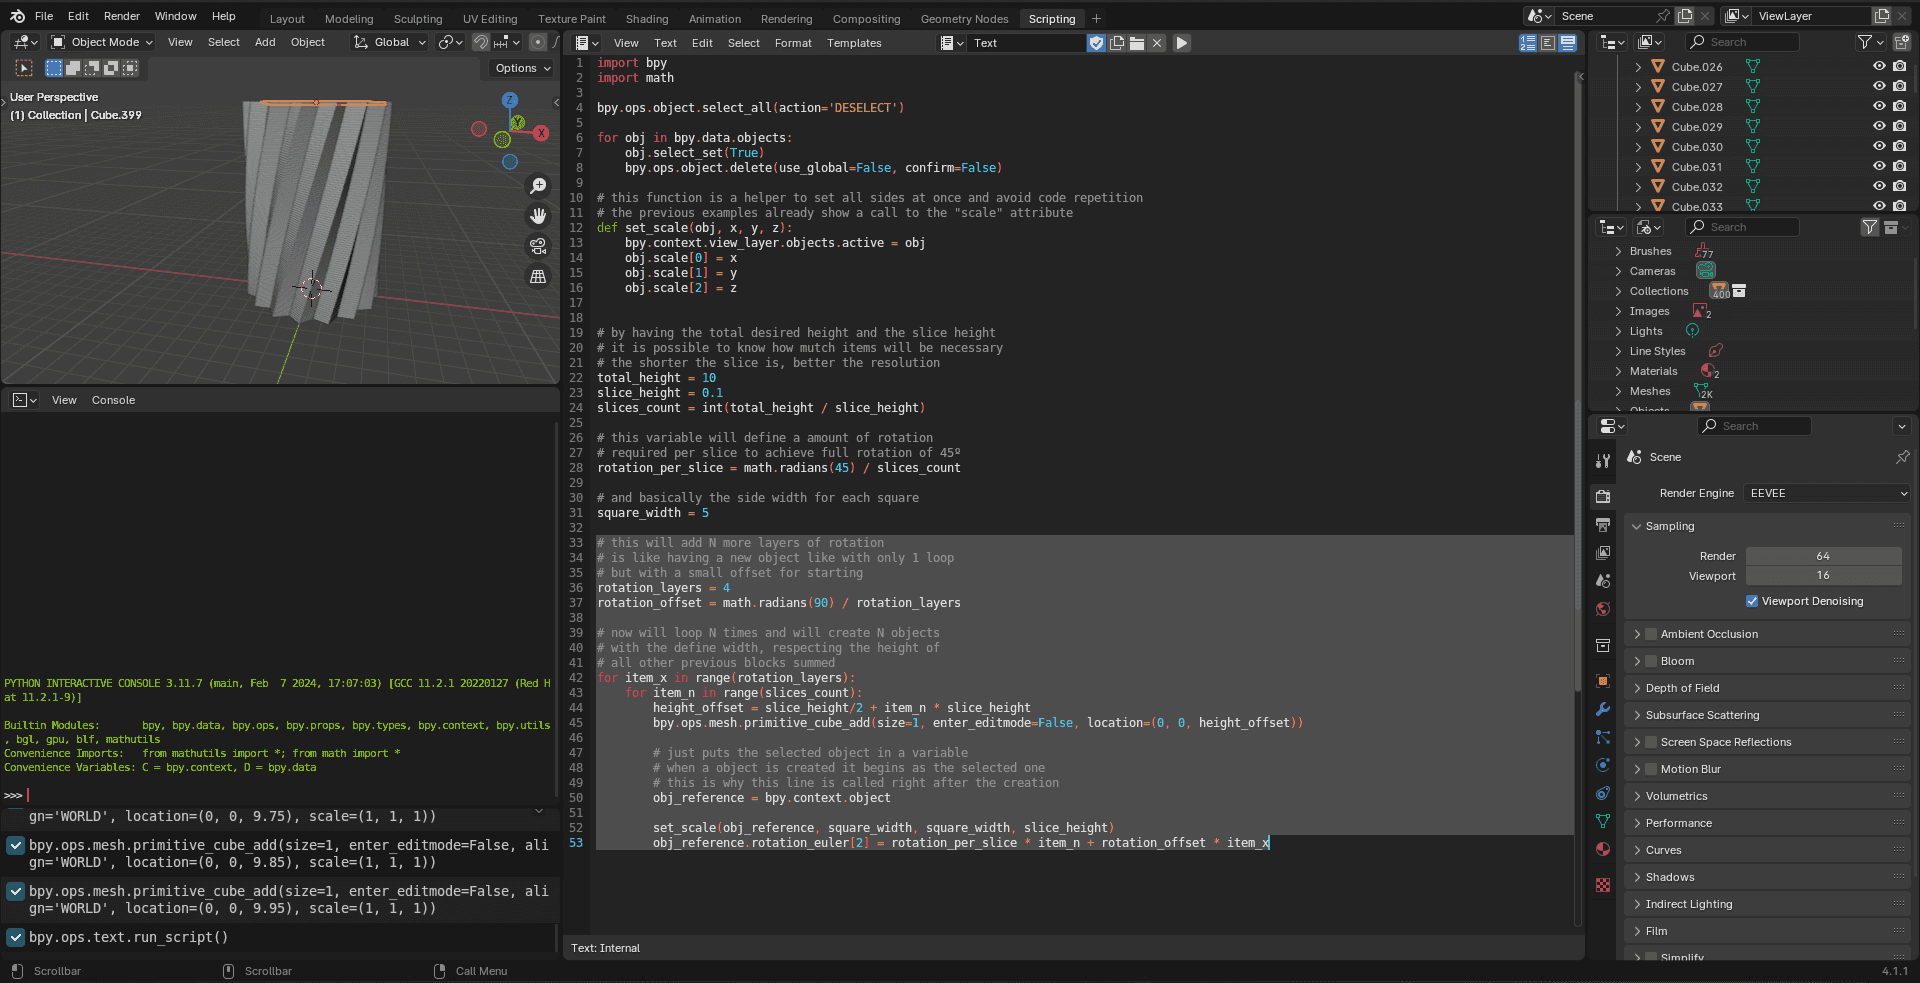
The next step adds a new loop before the existing one to replicate the created object with a small start offset. In the final object will be possible to see more "sides" and less "smothness" than the original:
# this will add N more layers of rotation
# is like having a new object like with only 1 loop
# but with a small offset for starting
rotation_layers = 4
rotation_offset = math.radians(90) / rotation_layers

# now will loop N times and will create N objects
# with the define width, respecting the height of
# all other previous blocks summed
for item_x in range(rotation_layers):
    for item_n in range(slices_count):
        height_offset = slice_height/2 + item_n * slice_height
        bpy.ops.mesh.primitive_cube_add(size=1, enter_editmode=False, location=(0, 0, height_offset))

        # just puts the selected object in a variable
        # when a object is created it begins as the selected one
        # this is why this line is called right after the creation
        obj_reference = bpy.context.object

        set_scale(obj_reference, square_width, square_width, slice_height)
        obj_reference.rotation_euler[2] = rotation_per_slice * item_n + rotation_offset * item_x
The code below applies a sin function to the box width to make it larger at the middle:
import bpy
import math

bpy.ops.object.select_all(action='DESELECT')

for obj in bpy.data.objects:
    obj.select_set(True)
    bpy.ops.object.delete(use_global=False, confirm=False)

# this function is a helper to set all sides at once and avoid code repetition
# the previous examples already show a call to the "scale" attribute
def set_scale(obj, x, y, z):
    bpy.context.view_layer.objects.active = obj
    obj.scale[0] = x
    obj.scale[1] = y
    obj.scale[2] = z


# by having the total desired height and the slice height
# it is possible to know how mutch items will be necessary
# the shorter the slice is, better the resolution
total_height = 10
slice_height = 0.1
slices_count = int(total_height / slice_height)

# this variable will define a amount of rotation
# required per slice to achieve full rotation of 45º
rotation_per_slice = math.radians(45) / slices_count

# and basically the side width for each square
square_width = 5

# this will add N more layers of rotation
# is like having a new object like with only 1 loop
# but with a small offset for starting
rotation_layers = 4
rotation_offset = math.radians(90) / rotation_layers

# now will loop N times and will create N objects
# with the define width, respecting the height of
# all other previous blocks summed
for item_x in range(rotation_layers):
    for item_n in range(slices_count):
        height_offset = slice_height/2 + item_n * slice_height
        bpy.ops.mesh.primitive_cube_add(size=1, enter_editmode=False, location=(0, 0, height_offset))

        # just puts the selected object in a variable
        # when a object is created it begins as the selected one
        # this is why this line is called right after the creation
        obj_reference = bpy.context.object

        distorted_width = square_width * 0.7 + (square_width * math.sin(math.pi * item_n / slices_count)) * 0.3

        set_scale(obj_reference, distorted_width, distorted_width, slice_height)
        obj_reference.rotation_euler[2] = rotation_per_slice * item_n + rotation_offset * item_x
Further
There is a lot of things that can be done to the object above: extrude a central hole (because it is not a vase yet), apply some smoothness to the sides, split the model horizontaly at the middle to avoid using supports in 3D printing and so on.
But thinking in the technical aspect, I still want to explore how to create a release method for these drawings. Imagine if this code is saved to a folder and commited to a git repository (without the .blend file, that isn't needed when everything is generated by code) and then run a CI pipeline to generate a .STL file and then generate instructions for a 3D printer (.gcode file).